Authenticate to Simplelists using Ping Identity
Introduction
Implementing SAML Authentication for simplelists.com is described below.
Ping Identity Configuration
Login to your Ping Identity Environment
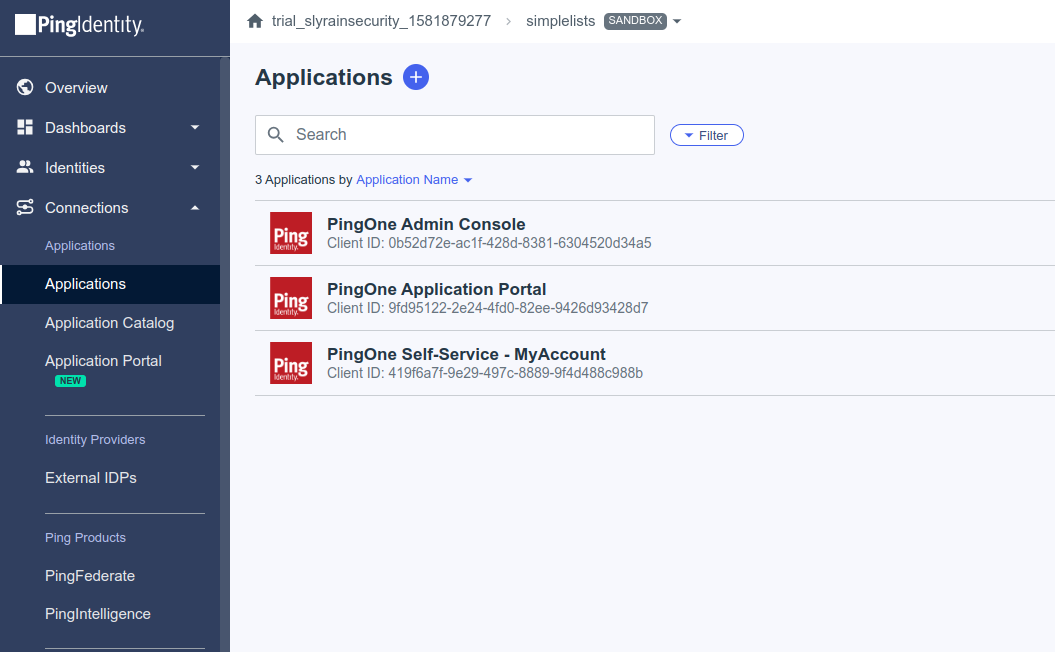
- Login to your Ping Identity Console and select your environment
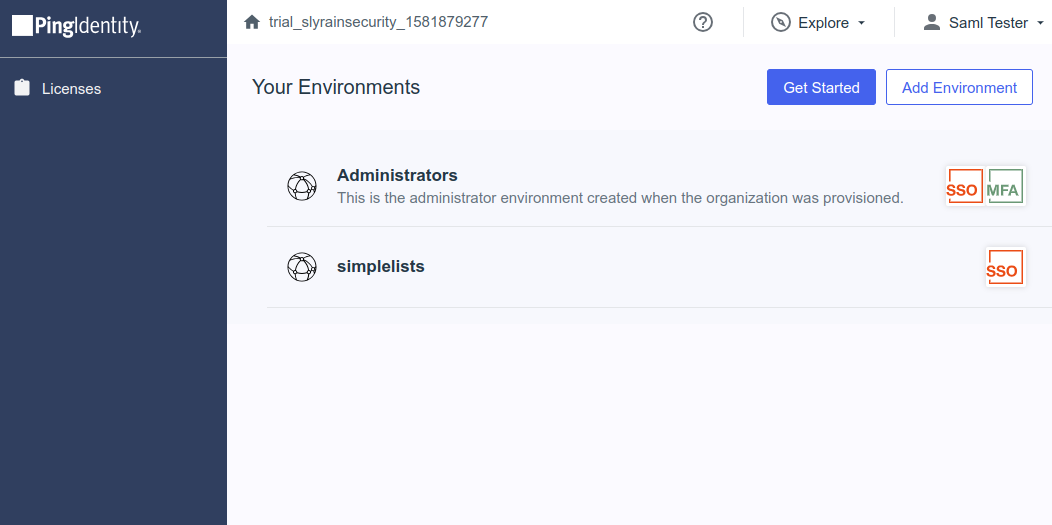
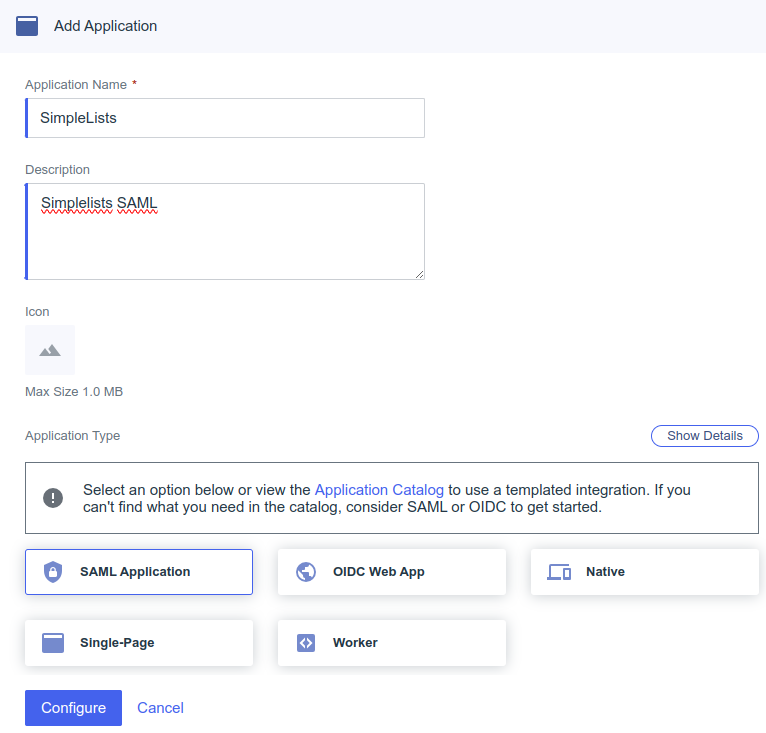
Create SAML2 Application
SAML Configuration (from Metadata)
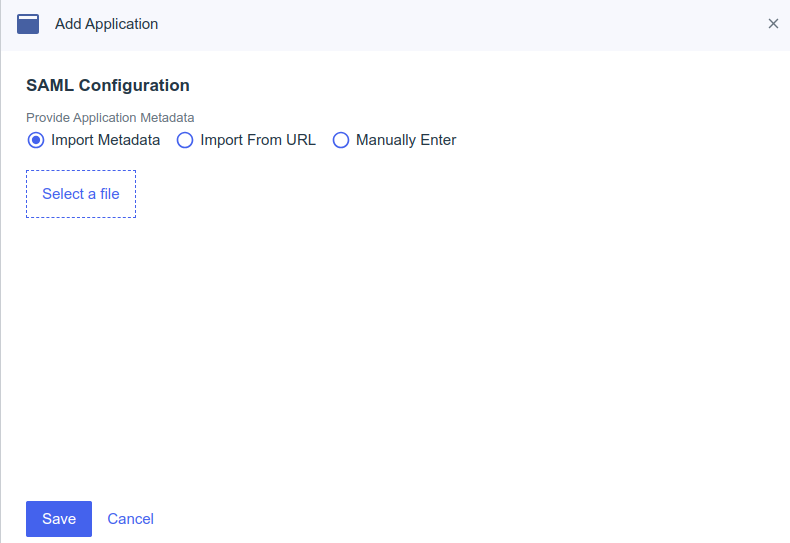
- Select Import Metadata
- Click Select a file
- Locate the saml.xml that you downloaded from the Simplelists Authentication Provider above and click to select the file
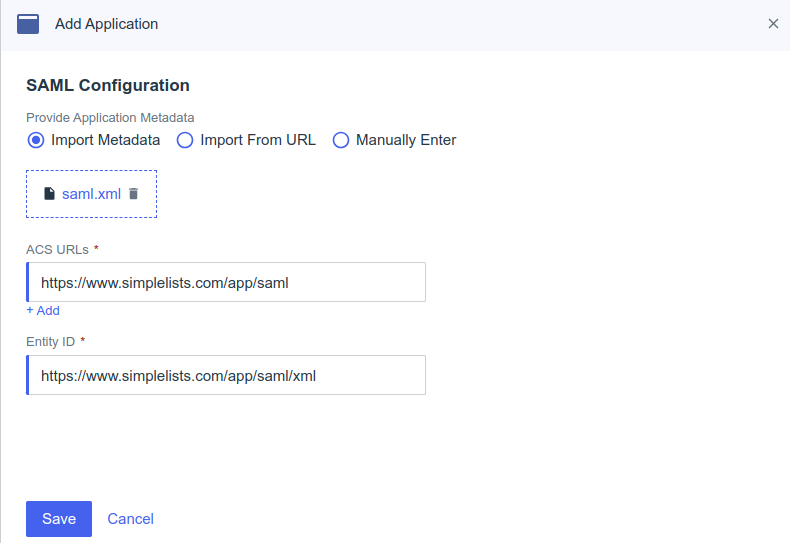
- After the Metadata has been loaded Click Save
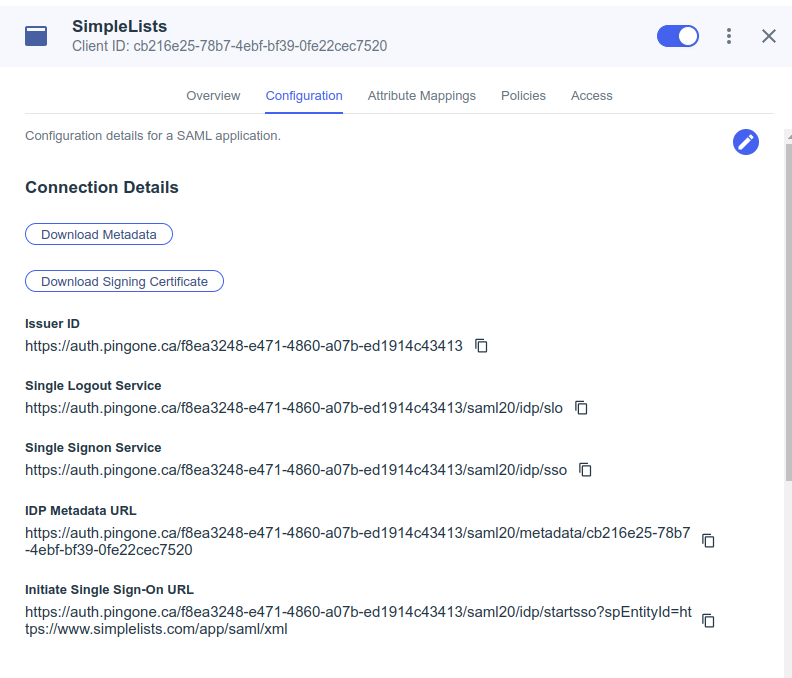
Download Metadata and Signing Certificate
- Click Configuration
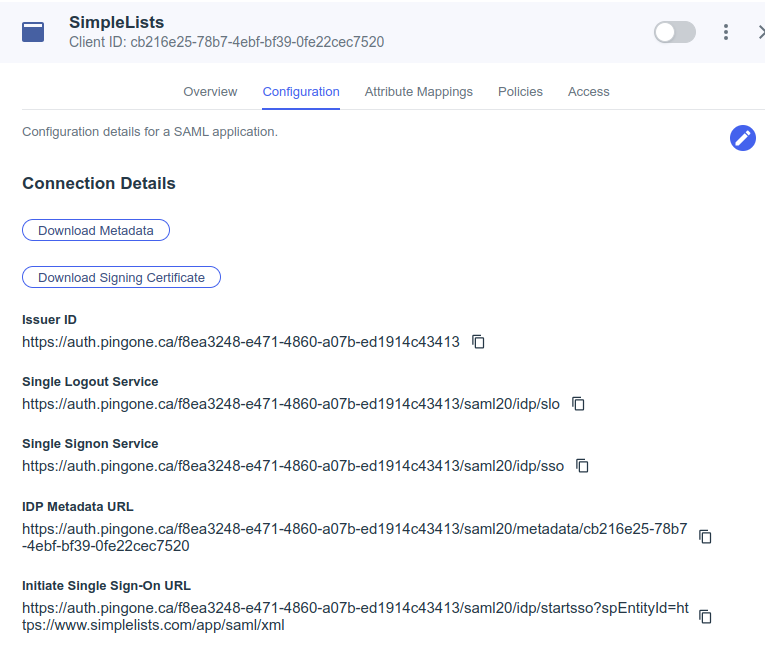
- Click Download Metadata (save for upload to Simplelists)
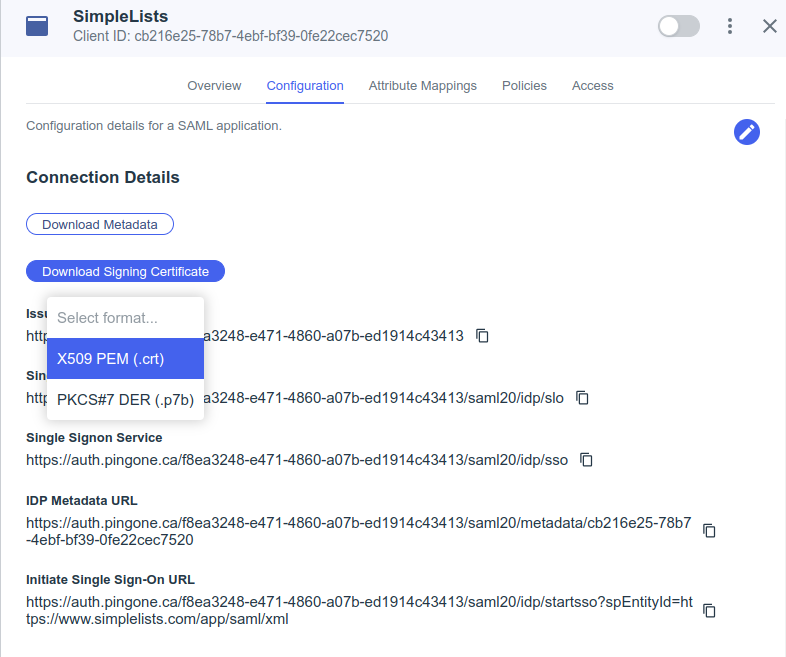
- Click Download Signing Certificate
- Select X509 PEM (.crt) (save for upload to Simplelists)
- Click Save
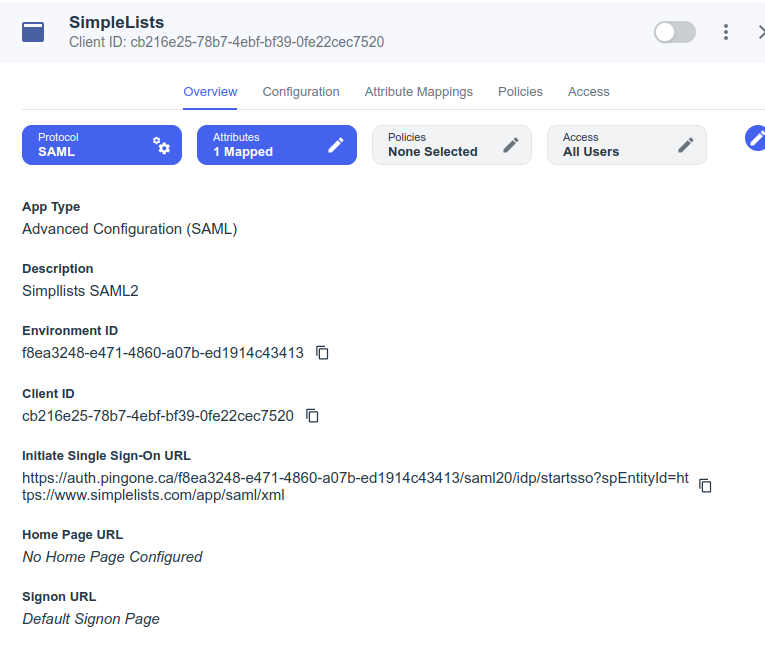
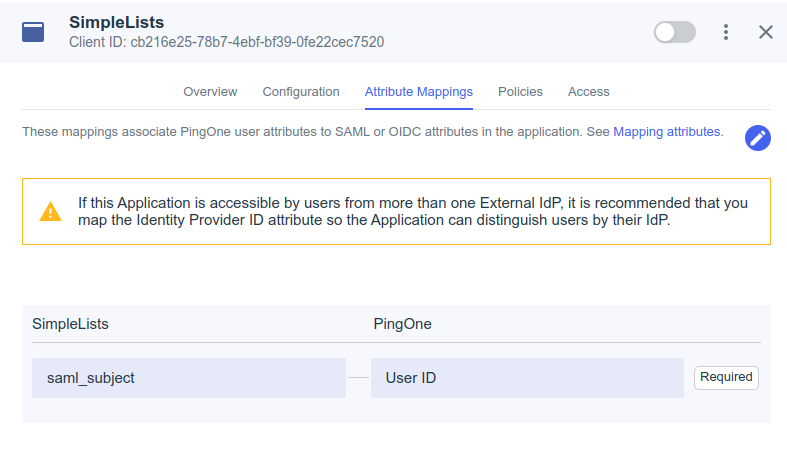
Attribute Mappings
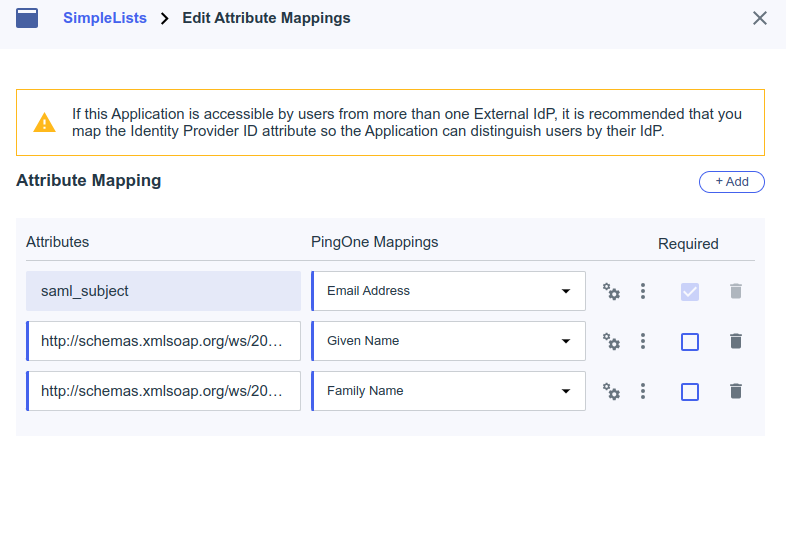
Edit Attribute Mappings
- Click Add
- Add the following mappings
Attributes PingOne Mappings saml_subject Email Address http://schemas.xmlsoap.org/ws/2005/05/identity/claims/givenname Given Name http://schemas.xmlsoap.org/ws/2005/05/identity/claims/surname Family Name - Click Save
Enable SAML Application

Testing Login
At this point you should have successfully configured basic SAML2 authentication.
- Open the Simplelists web page (https://www.simplelists.com)
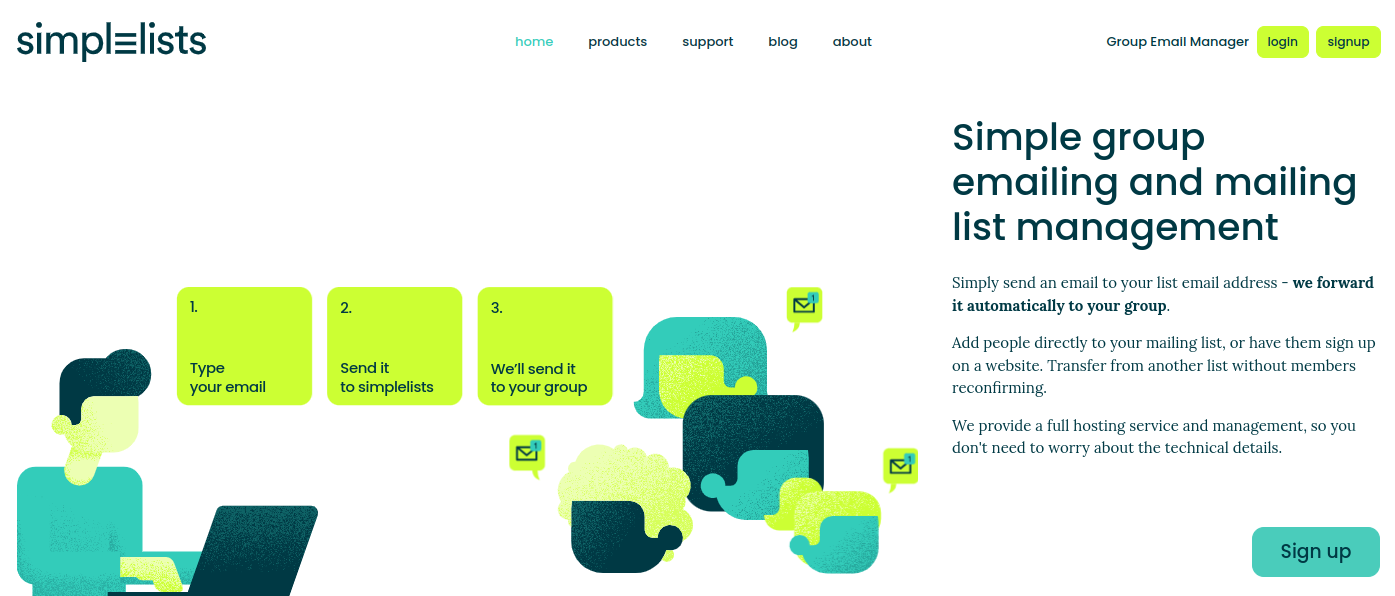
- Click Login
- Enter your email address on the simplelists web page
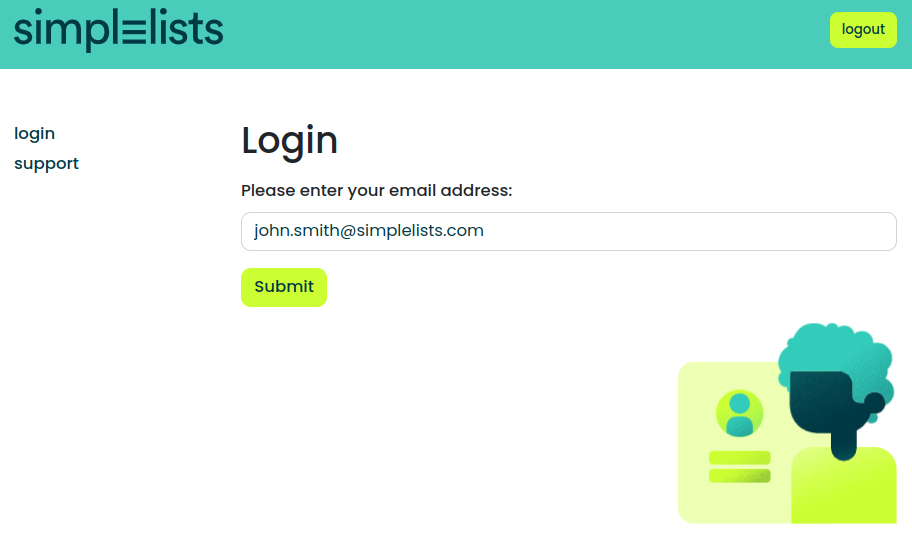
- Enter your Ping enabled email address and click submit.
If everything is correctly configured you will be presented with the Ping login page.
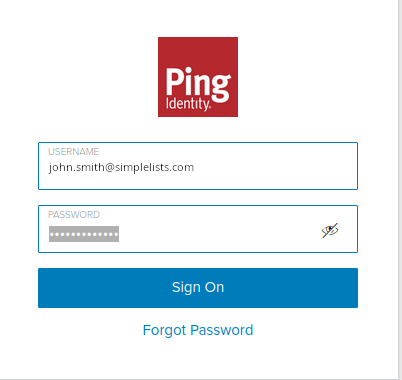
- Enter the email address that you have enabled for Ping in simplelists
- Enter your password
- Click Sign On
You should be logged into the simplelists web page as your user.
Optional Settings
The following settings provide extra features that are not necessary if you are simply authenticating from the Simplelist’s web page.
Automatic User Creation
Simplelists supports the auto user creation both via the Simplelists website and via an IdP Initiated login (if configured). For auto user creation from the Simplelists web page you need to ensure that your domain name is configured in the Authentication Provider.
For information on Configuring Automatic User Creation in Simplelists see the help page.
Note: Groups must be configured and properly provided by Ping as in Group Support (below) in order for the user to be automatically created.
Group Support
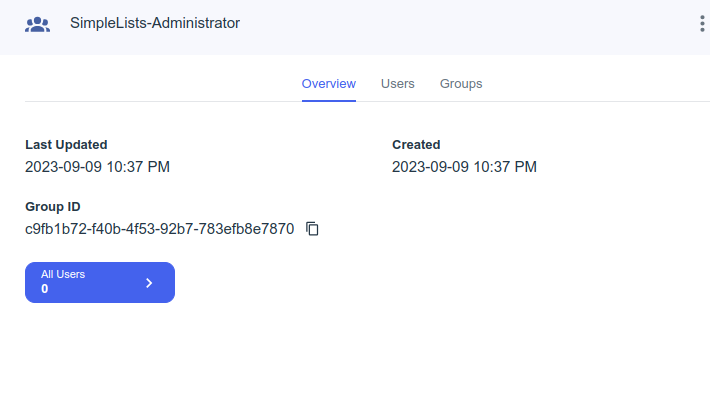
Simplelist’s can use groups provided by the Ping provider to create users and manage the permissions. The following section assumes that you have existing groups in Ping for use with Simplelists. If not, create groups for the type of permissions that you would like to have. For instance groups may be:
- SimpleLists-Administrator
- SimpleLists-ListManager
- SimpleLists-Billing Manager
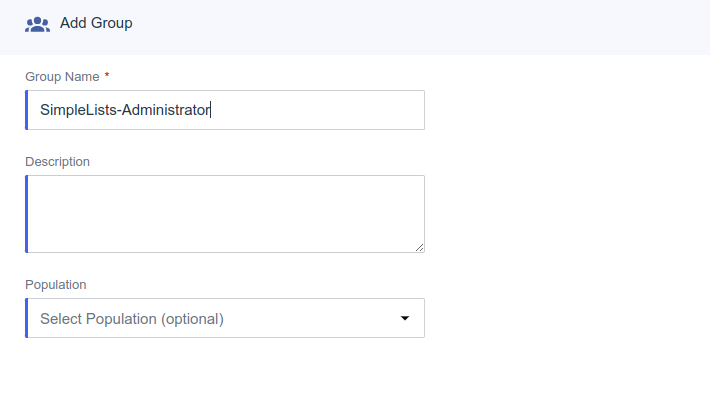
Create Groups in Ping
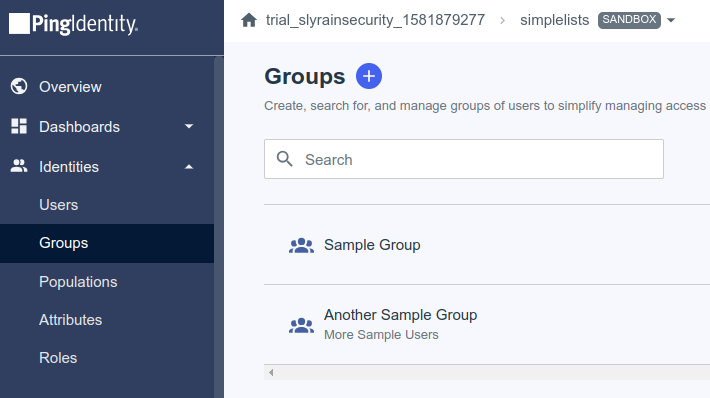
- Click Identities
- Click Groups
- Click the
 next to Groups
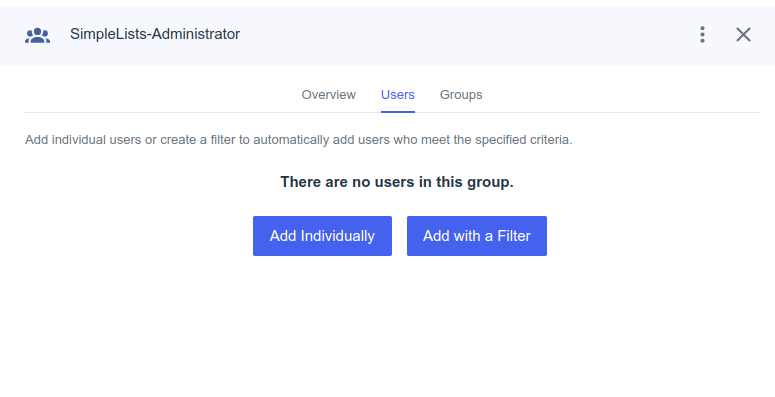
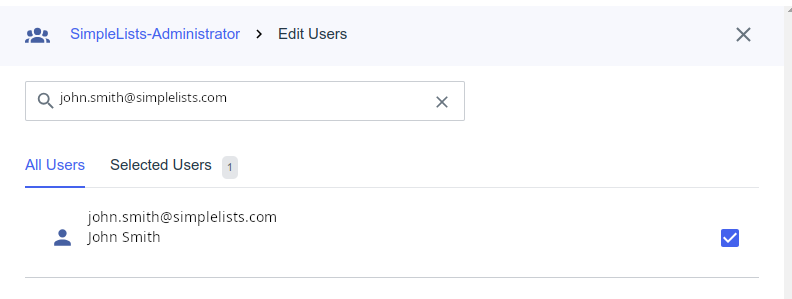
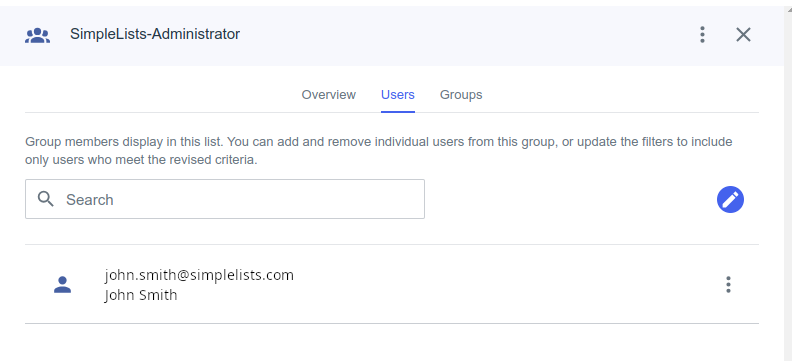
Add users to the group
Ping Application Group Configuration
Add a Group Memberships to the Application
- Access the SAML application you previously configured
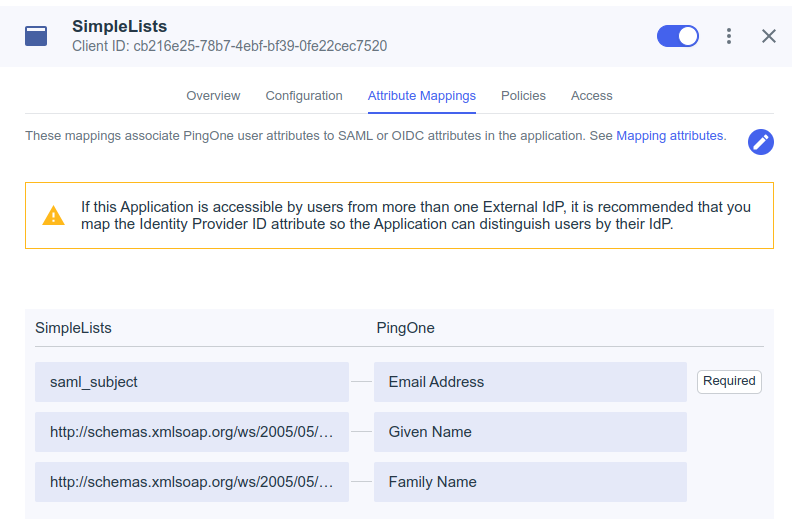
- Edit the Attribute Mappings
- Click the edit icon

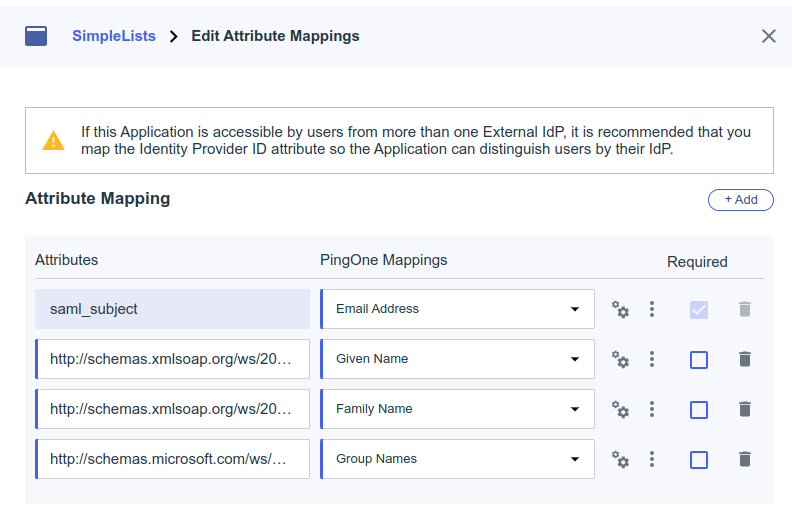
Edit Attribute Mappings
- Click Add
- Add the following mapping to the existing
| Attributes | PingOne Mappings |
| http://schemas.microsoft.com/ws/2008/06/identity/claims/groups | Group Names |
IdP Initiated Login
Simplelists has support for IdP initiated login. That is, login that is initiated by selecting the Simplelists application on the user’s Ping Application Portal. Selecting the application on the portal page redirects to the Simplelist web page where the user is automatically logged into the application.
- Open the Ping SAML application that you created
- Click Connections
- Click Applications
- Click on the Simplelists application
- Edit the Configuration
- Click Configuration
- Click the blue and white edit icon

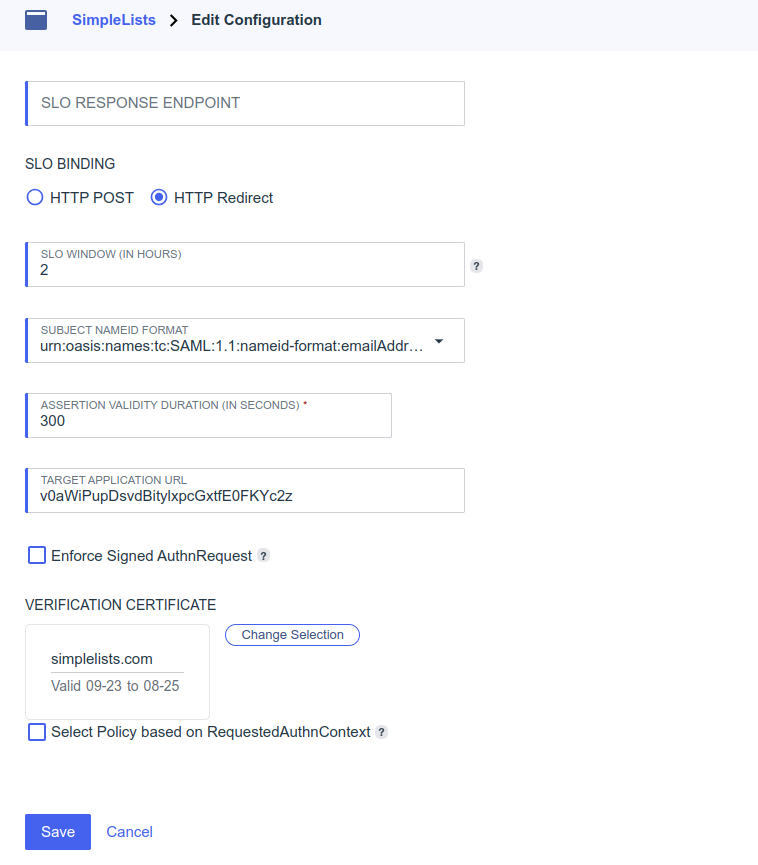
- Enter the RelayState value from the Simplelists Authentication provider in the Target Application URL field (example: v0aWiPupDsvdBitylxpcGxtfE0FKYc2z)
- Click Save
Require Signed AuthnRequests
Note: Requiring Signed AuthnRequests may break the ability to initiate login to Simplelists from the Ping Application Portal if you have configured that functionality.
- Open the Ping SAML application that you created
- Click Connections
- Click Applications
- Click on the Simplelists application
- Edit the Configuration
- Click Configuration
- Click the blue and white edit icon

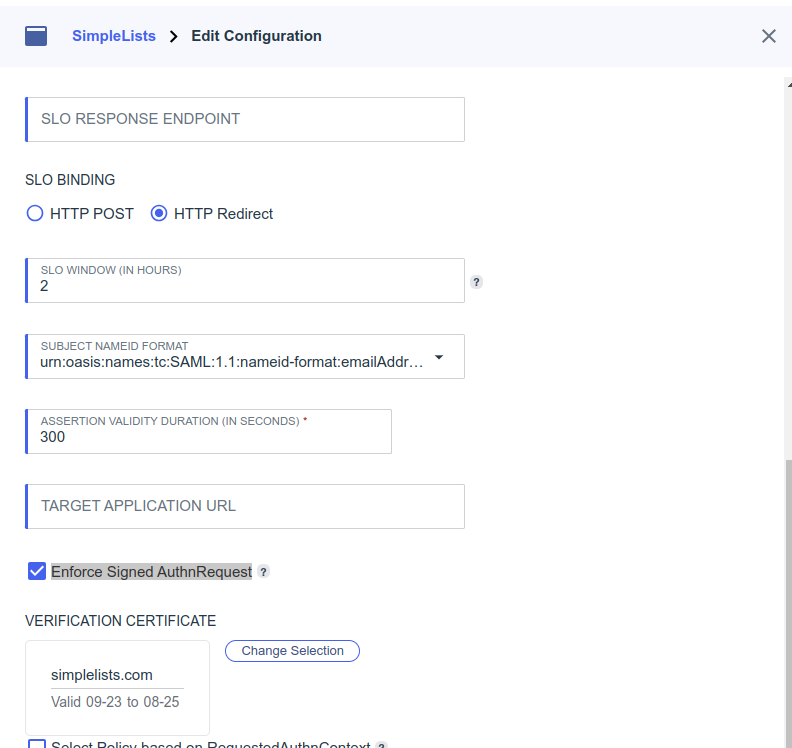
- Select Enforce Signed AuthnRequest
- Click Save
Enable Encrypted Assertions
Encrypted assertions are supported by Simplelists and allow you to increase the security of your authentication.
Edit the SAML Application
Set Required Encryption Settings
- Click Sign Assertion & Response
- Click Enable Encryption
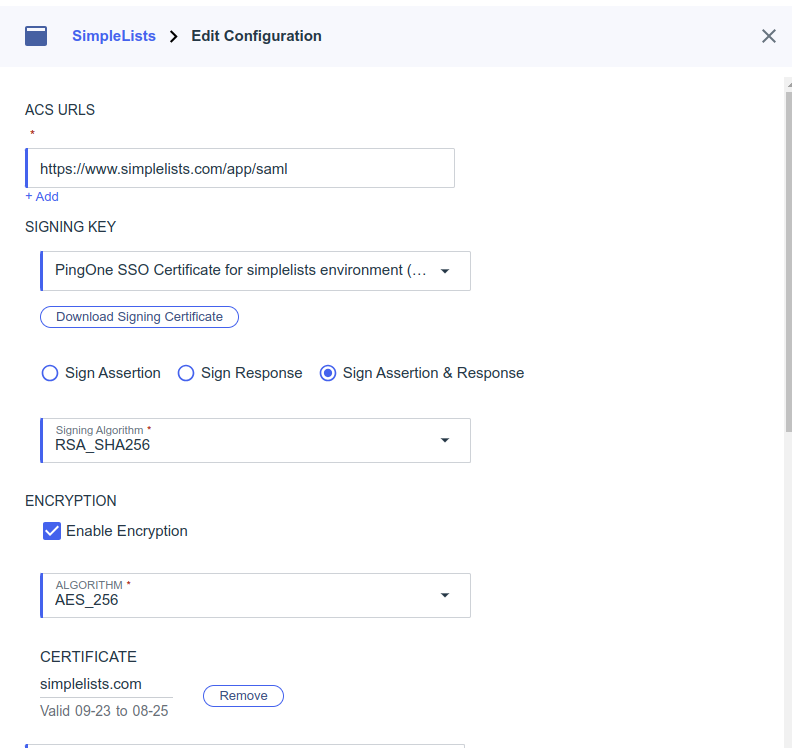
- Choose AES_256 from the Algorithm drop down
- Select Import
- Click Choose File
- Select the Simplelists Signing Certificate simplelists.cer that you downloaded above
- Click Save
Test login with encrypted assertions
Simply login to the Simplelists website and verify that you are able to log in. You can verify that the Assertion is encrypted by viewing it using a SAML Message decoder plugin for your browser; see the Troubleshooting section.

