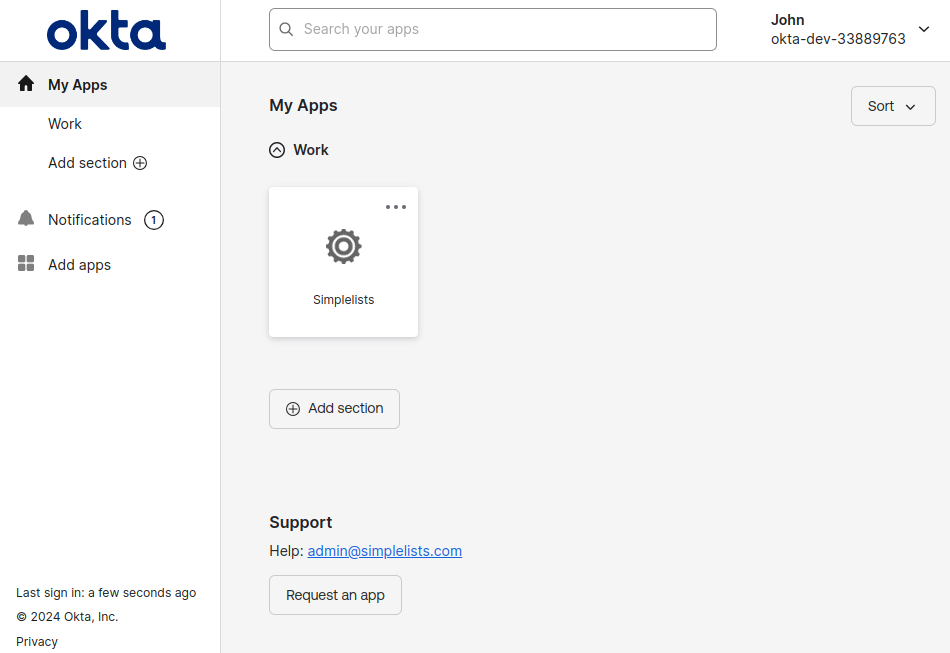
Authenticate to Simplelists using Okta
Introduction
Implementing Okta SAML Authentication for simplelists.com is described below.
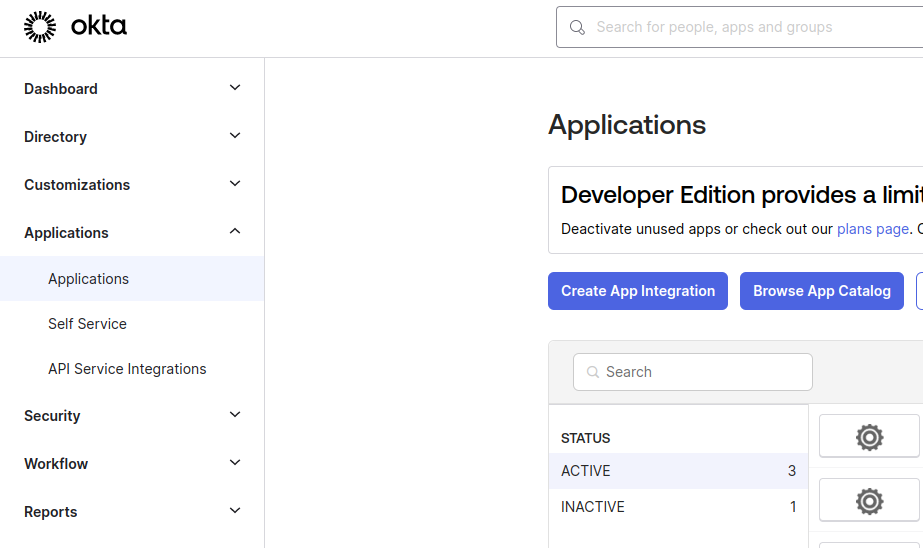
Create Okta Application Configuration for simplelists
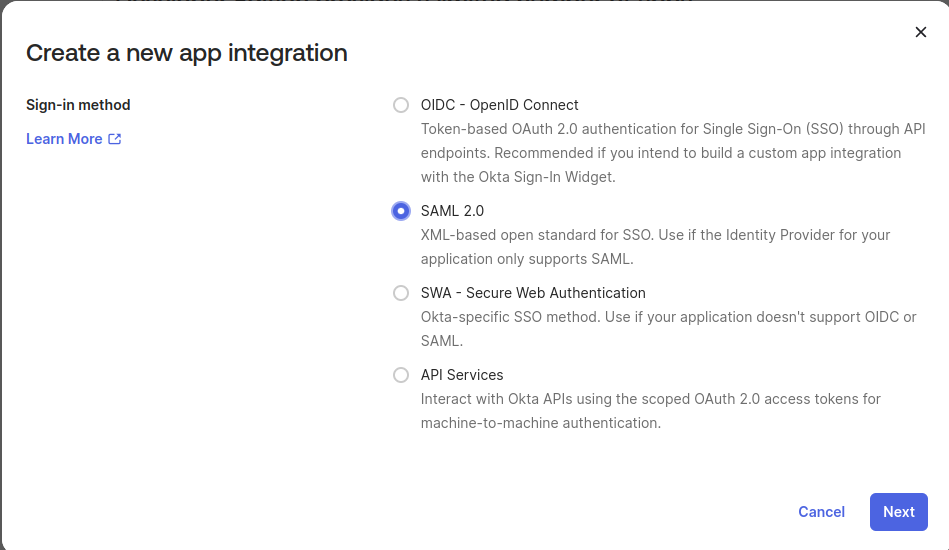
Create a new app integration
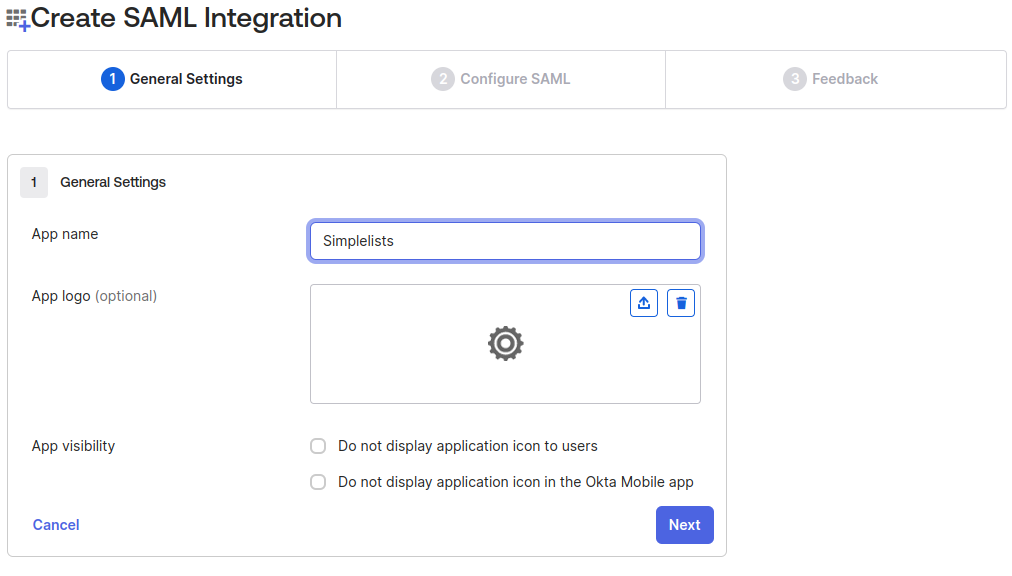
Create SAML Integration - General Settings
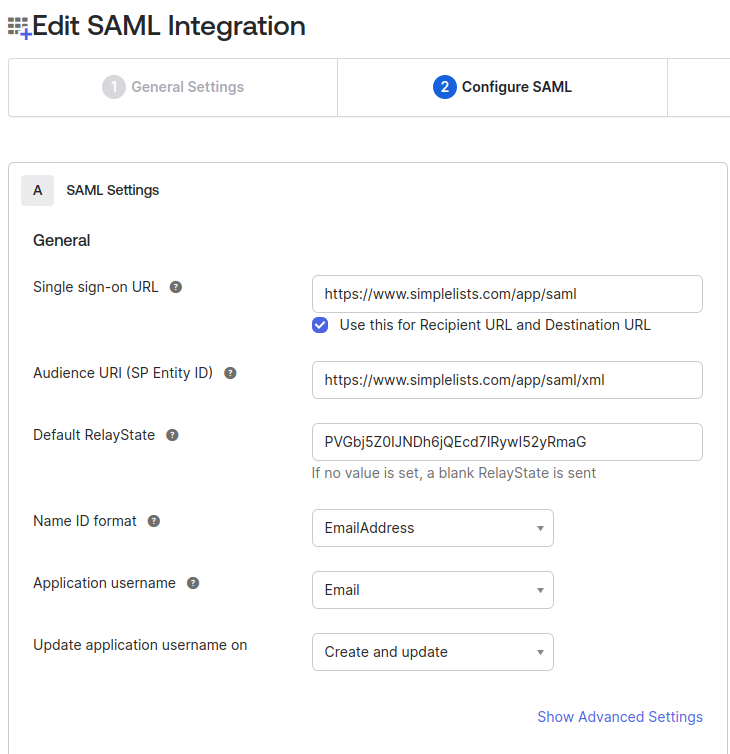
Create SAML Integration - Configure SAML
- Enter the Single sign-on URL from the simplelists SAML Provider
- Enter the Audience URI (SP Entity ID) from the simplelists SAML Provider
- Enter the Default RelayState from the simplelists SAML Provider (optional)
- Ensure that the Name ID format is set to EmailAddress
- Set the Application username to Email
- Click Show Advanced Settings
Create SAML Integration - Configure SAML Advanced Settings
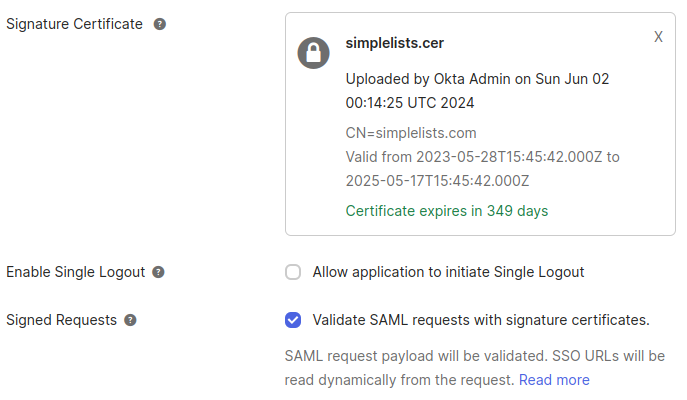
- Click Browse Files next to Signature Certificate
- Upload the simplelists.cer file downloaded from the Simplelists Authentication
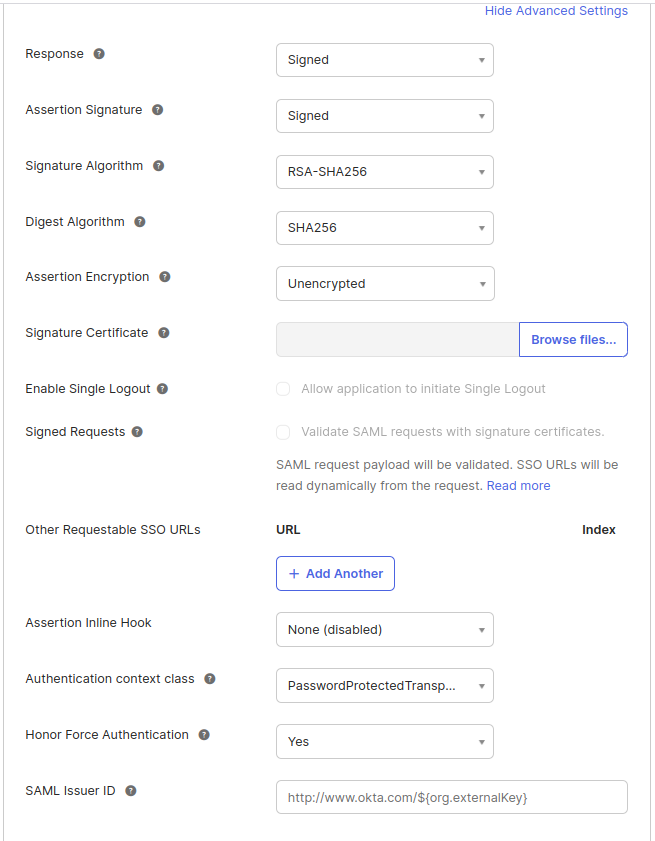
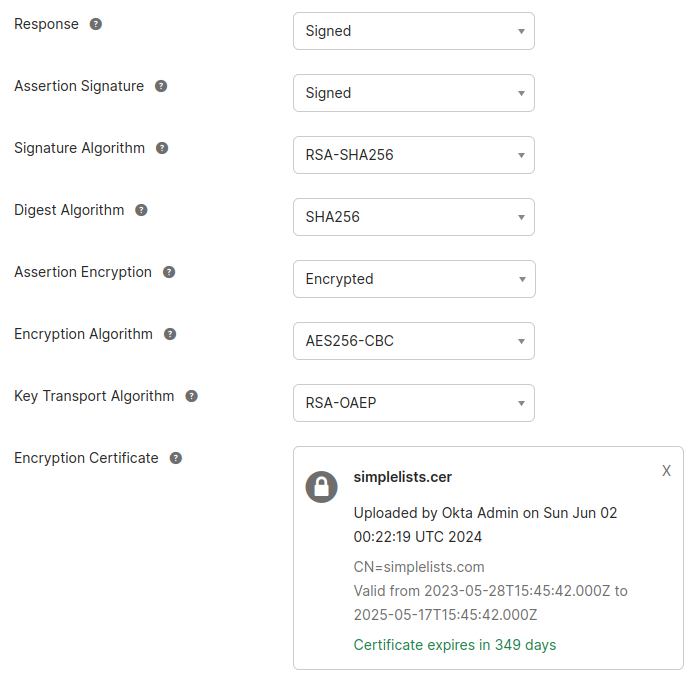
Note: The recommended signature is RSA-SHA256 with a SHA256 digest
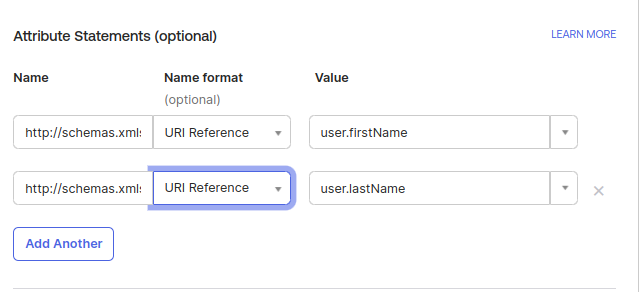
Create SAML Integration - Configure SAML Attributes (User)
This section varies somewhat based on your Okta and Identity setup as well as your Simplelists configuration.
The Name field is the information you used in Simplelists. The Name will be:
- First Name set the Name to http://schemas.xmlsoap.org/ws/2005/05/identity/claims/givenname
- Last Name set the Name to http://schemas.xmlsoap.org/ws/2005/05/identity/claims/surname
The Name format is URI Reference (if you are using the above settings)
For the Value you will need two Attributes:
- First Name set value to user.firstName
- Last Name set value to user.lastName
Create SAML Integration - Configure SAML Attributes (Groups)
This section varies somewhat based on your Okta and Identity setup as well as your Simplelists configuration.
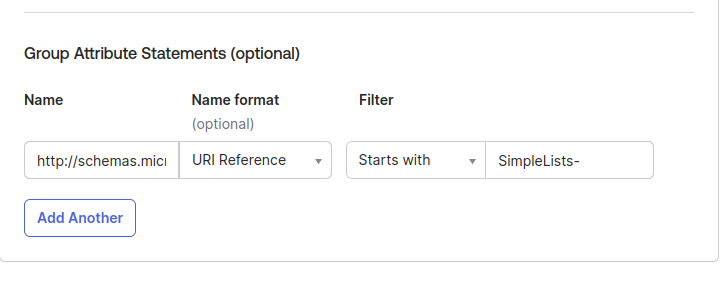
For the Groups you will need a group name and a Filter for your Okta defined Simplelists groups.
- Set the Name to http://schemas.microsoft.com/ws/2008/06/identity/claims/groups
- Select a format (Optional) to URI Reference
- Enter a Filter that will select the Groups you want to present to SimpleLists
- Move to the bottom of the page and Click Next
In this example there are Groups defined in Okta that start with "SimpleLists-"
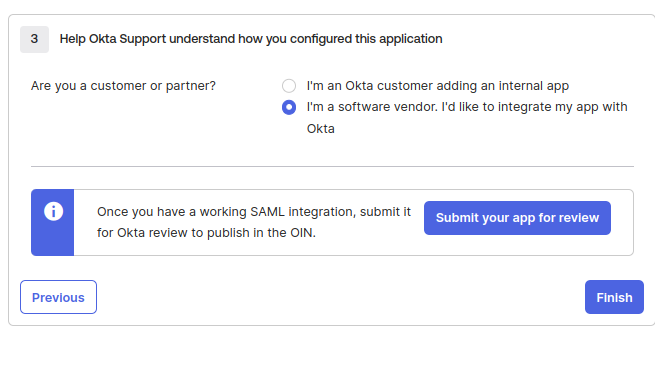
- Click one of the option and provide any required information and click Finish
Create SAML Integration - Enable Encrypted Assertions (Optional)
Get everything else working first then decide if you want to implement this.
This is an optional step that adds some security but does cause some troubleshooting issues since you will be unable to review the actual data that was received in the assertion. As such you should only enable it once you have fully tested your implementation.
- Upload the same certificate for the Encryption Certificate that you used for the Signature Certificate
- Select Encrypted for the Assertion Algorithm
- Select AES256-GCM for the Encryption Algorithm
- Select RSA-OAEP for the Key Transport Algorithm
Assign Okta Application to your User (or Group)
Depending on your Okta setup you will need to assign the new Simplelists application to the User of Group that includes the user.
- Click Assignments
- Click Assign
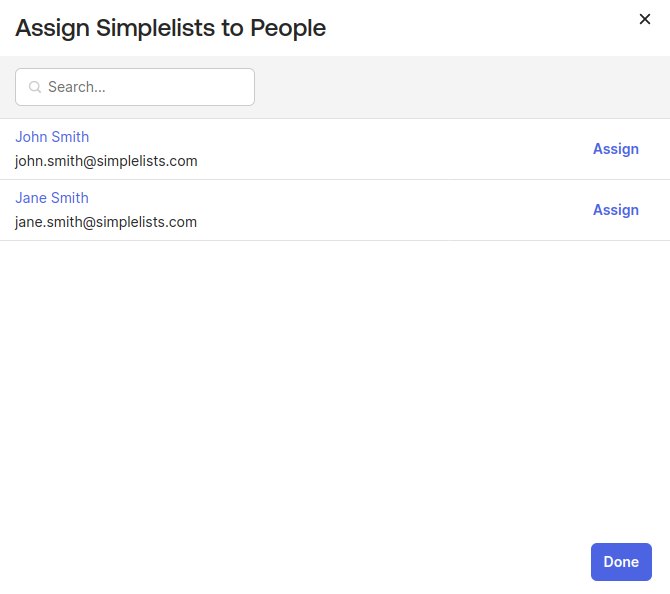
- Click Assign to People
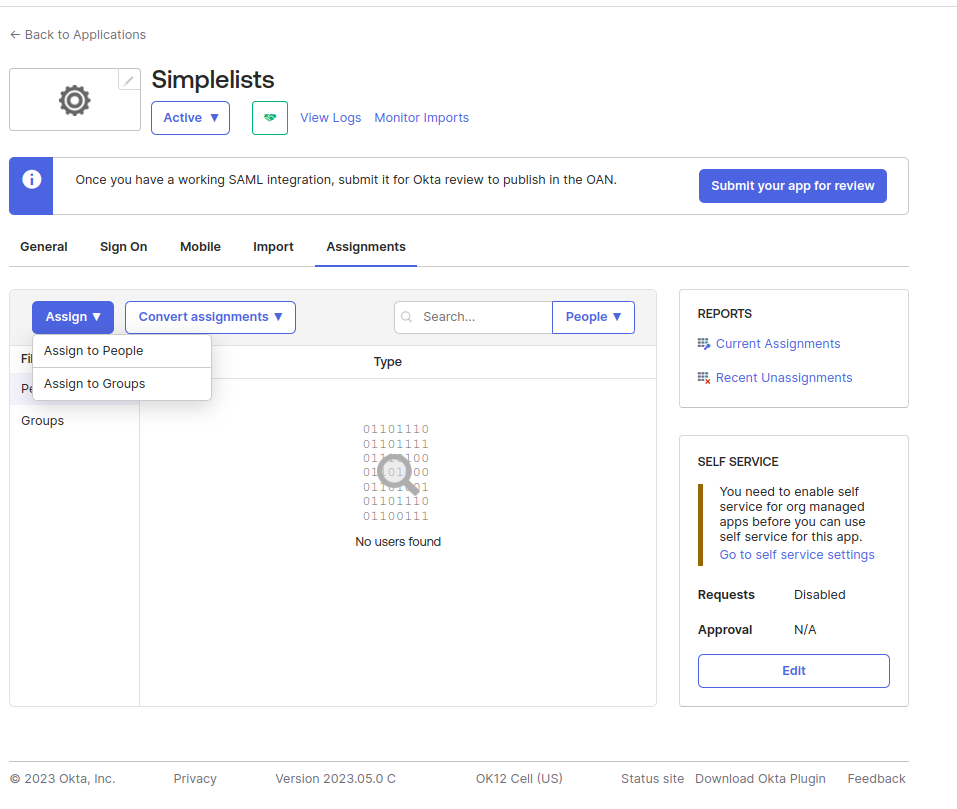
- Choose the Person you wish to assign
- Click Assign
- Click Save and Go Back
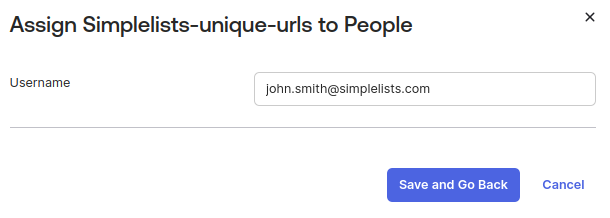
- Then click Done
Okta Groups required for Automatic User Creation (Optional)
Get everything else working first then decide if you want to implement this.
If you want to automatically create Simplelists users when a valid authentication assertion has been received you need to have “Simplelists” groups assigned to the users. The application will need to be configured to add these groups in the assertion. See “Create SAML Integration - Configure SAML Attributes (Groups)” above. The groups that you use should have a similar pattern such as “SimpleLists-” at the beginning to make the selection easier.
Note: When you change or remove the Simplelists related groups assigned to a user, in Okta, the Simplelists permissions for that user are modified on the next login. If you remove all Simplelists groups from the user, the user is deleted from Simplelists if the user attempts to login again.
Note: SimpleLists group permissions are additive. That is, if a user is a member of multiple groups that assign different permissions, the user is assigned ALL the permissions assigned by the individual groups.
Obtain the Okta Certificate and Metadata
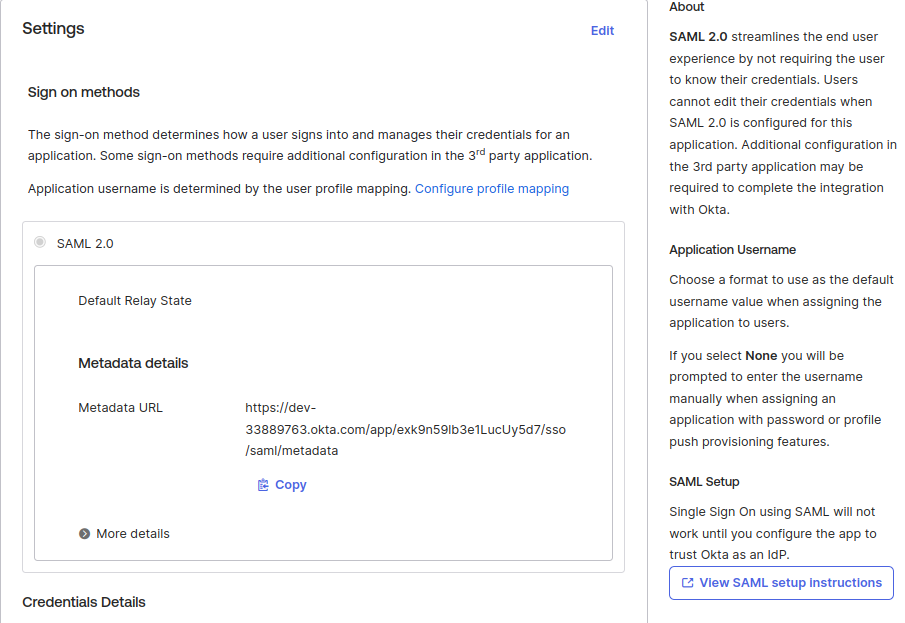
- Click View SAML setup instructions from the right of the page
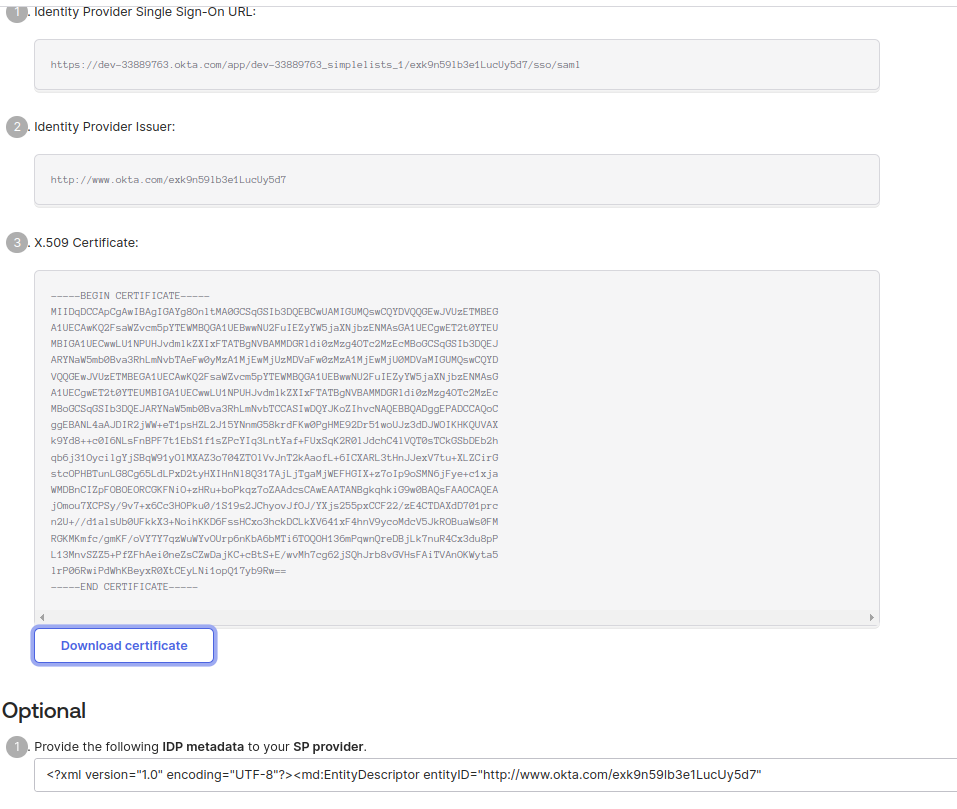
- Click Download certificate and save okta.cer to your computer
- Select all the text (Use <Ctrl>+<A> or right click Select All) in the Provide the following IDP metadata to your SP provider field
- Copy the text to a file named metadata.xml and save it
Testing Login
Logging in from the Simplelists page
- Access the simplelists page and click Login
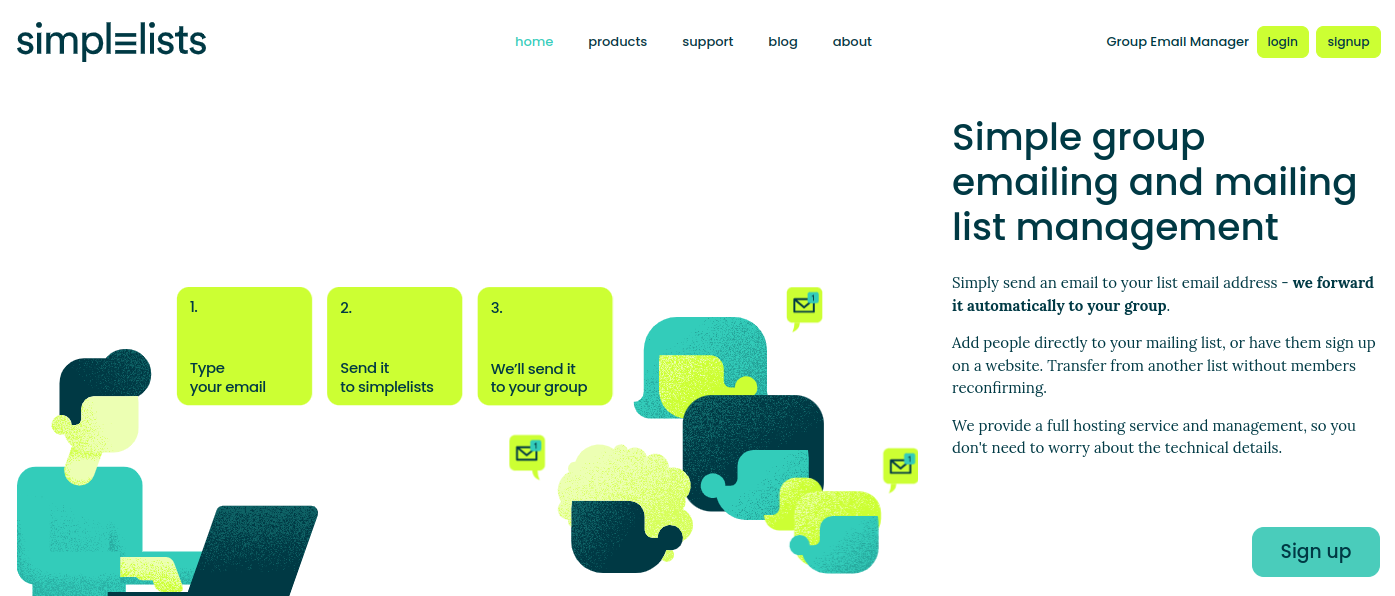
- Enter your Okta enabled email address and click submit.
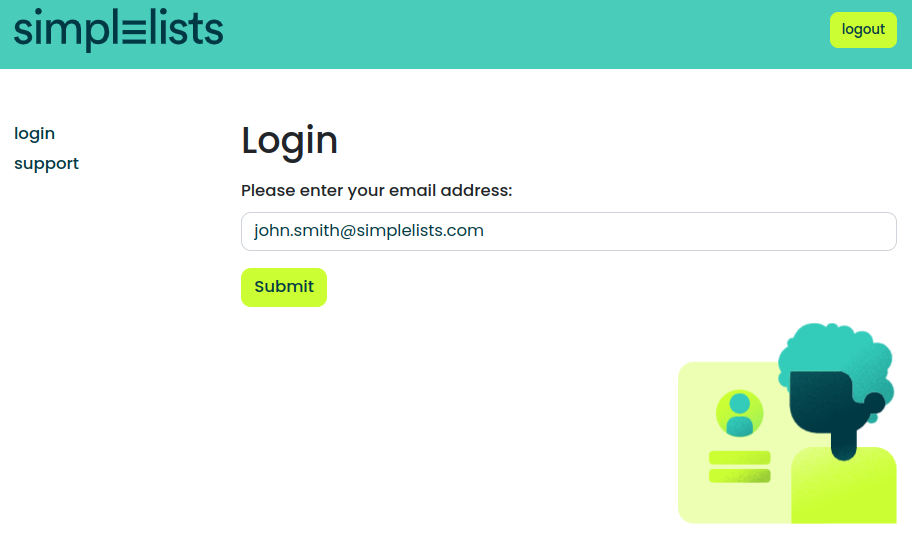
- If everything is correctly configured you will be presented with the Okta login page.
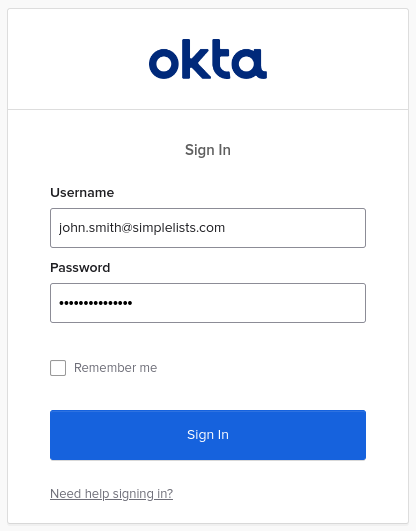
- Enter your account username and password and click Sign In
If all goes well you should be logged into the Simplelists application page.
Logging in from the Okta “MyApps Dashboard”
- Login in your Okta Dashboard
- Locate the Simplelists App that was created.
- Click on the App “tile”
Okta should send an authentication Assertion to the Simplelists web page defined when the Okta application was created.

