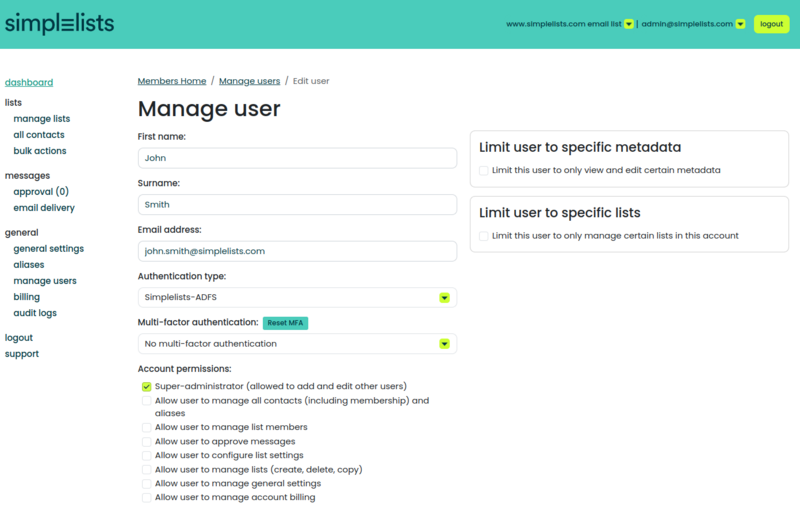
Simplelists supports SAML2 as an Authentication Provider. There are two parts to the configuration:
- Creating a Simplelists Authentication Provider
- Configuring your Identity Provider (IdP)
The following describes the creation and configuration of the Simplelists’ Authentication Provider
Create an Authentication Provider
- Log into your Simplelists instance as the administrator
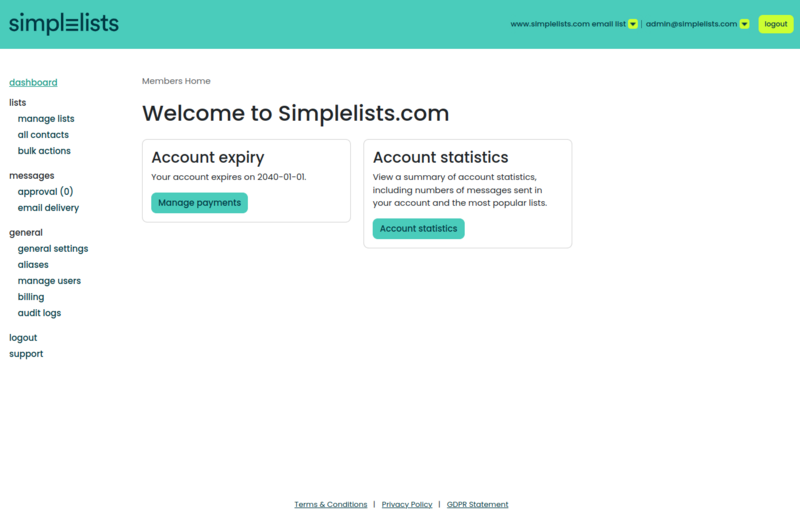
- From the left menu click general settings
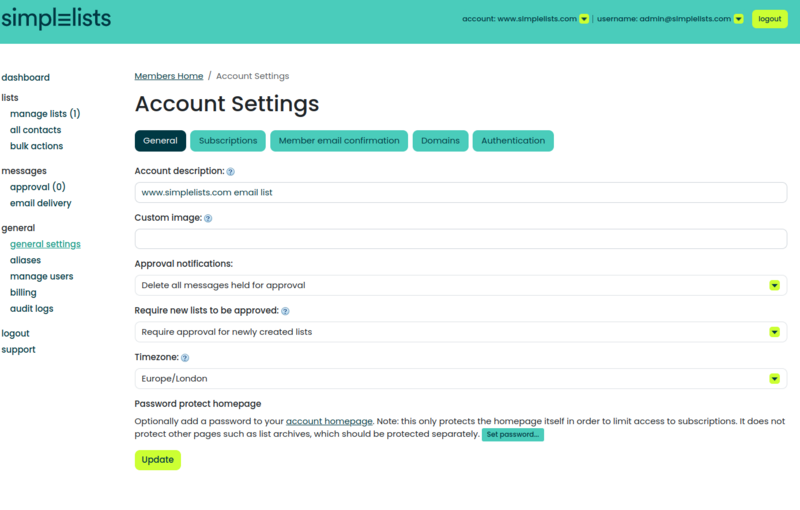
- Under the Account Settings click the Authentication tab
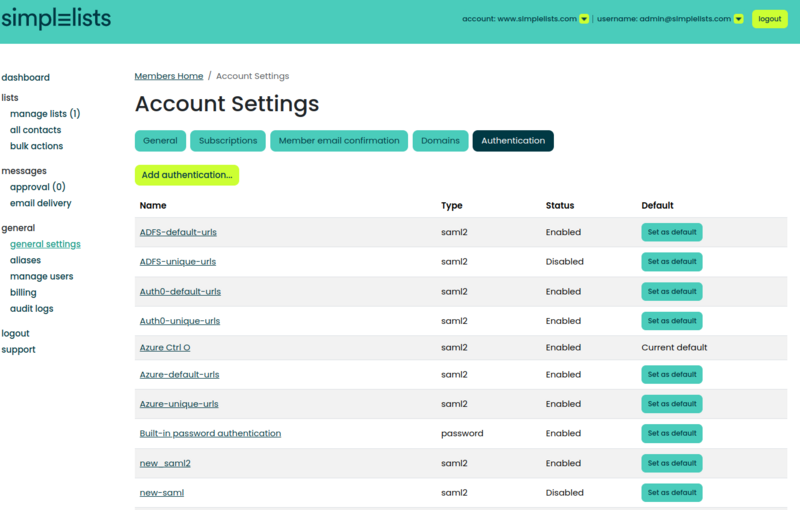
- Click Add Authentication... button
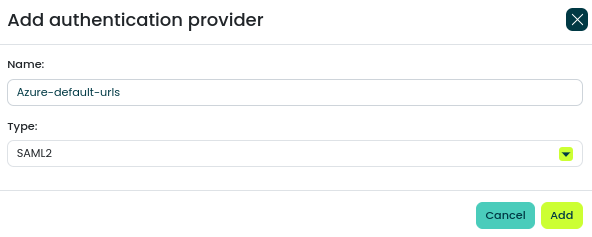
- Enter a unique Name
- Ensure that the Type is set to SAML2
- Click Add
Configure the Authentication Provider
- Under the Account Settings click the Authentication tab

- Click the Name of the Authentication provider you created
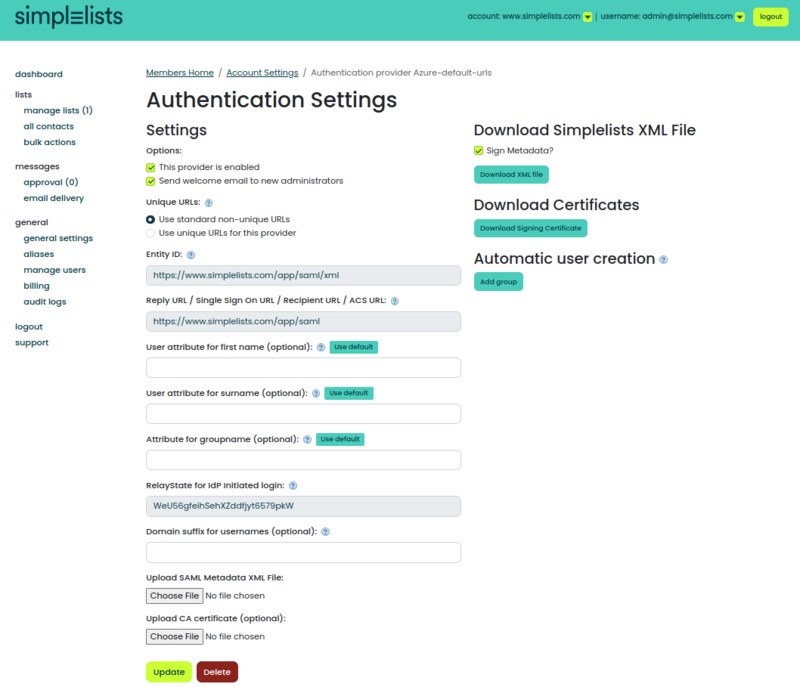
Select Unique or Default URLs
This option selects whether your IdP points to a unique URL versus a default URL for the Entity ID or Reply URL.
Strictly speaking, there is no difference between the default versus unique URLs. However, unique URLs allows more flexibility should you need to have multiple Simplelist instances served by your IdP.
The unique URL should probably be chosen.
Set the Attributes
User
The user attribute values entered for the following must match the values provided in the SAML2 assertion (and the attribute names you configure in the Identity Provider’s (IdP’s) configuration). These values are used to automatically update the user’s name.
Click the Use default button to enter a default value that is often provided by IdPs.
Enter Attribute names for
- User attribute for first name (optional)
- User attribute for surname (optional)
Group
For your initial configuration do not configure a group
The group attribute is used to find the groups that may be passed from the Identity Provider via the SAML2 assertion.
Click the Use default button to enter a default value that is often provided by IdPs.
Enter the Attribute for groupname (optional)
Domain suffix for usernames (optional)
The user’s email domain can be used to find the proper authentication provider to be used for IdP initiated login. This is optional and the unique URL is recommended instead.
Values required for the IdP configuration
The following items will be required to configure the IdP
- RelayState for IdP Initiated login
- Simplelists XML File
- Simplelists Certificates
RelayState
The RelayState value can be used in the IdP configuration as the default value sent to Simplelists during an IdP initiated login.
If the IdP sends a RelayState value during the IdP initiated login this value is verified to determine that it matches the value configured in Simplelists.
Download Simplelists XML File
Many IdPs allow uploading a metadata xml from the application to provide the proper configuration settings.
Note: some IdPs may have problems uploading signed metadata files. De-select Sign Metadata? if you have issues uploading Simplelists’ metadata to your IdP.
- Click the Download XML file button
- Save the saml.xml file so it can be uploaded to the IdP.
Simplelists Certificates
Simplelists signs the SAML2 AuthnRequest. The IdP can verify that the received AuthnRequest was signed by Simplelists.
- Click the Download Signing Certificate button
- Save the simplelists.cer file so it can be uploaded to the IdP.
Upload IdP values
Simplelists requires two Identity Provider files to be uploaded to the Authentication provider. These need to be downloaded from your IdP.
- SAML Metadata XML file
- CA certificate (optional)
Example values
| Field Name | Value |
|---|---|
| User attribute for first name (optional) | http://schemas.xmlsoap.org/ws/2005/05/identity/claims/givenname |
| User attribute for surname (optional) | http://schemas.xmlsoap.org/ws/2005/05/identity/claims/surname |
| Attribute for groupname (optional) | http://schemas.microsoft.com/ws/2008/06/identity/claims/groups |
| Domain suffix for usernames (optional) | example.com |
Simplelists Optional Configuration
Simplelists - Create Automatic user creation
Get everything else working first then decide if you want to implement this.
For IdP initiated login you can choose to have users automatically created. Simplelists uses "Automatic user creation groups" to assign user permissions. If no groups are provided you can create the user in Simplelists first and assign security there.
- Open the Authentication Settings that you created above

- Set the Attribute for groupname (optional)
- http://schemas.microsoft.com/ws/2008/06/identity/claims/groups
- Click the Add Group Button
Create the Automatic user creation group
- Enter a free form description (It will appear on the Authentication Provider Page)
- Billing Manager
- Enter the SSO Group Name (that will be sent by Azure)
- SimpleLists-Billing Manager
- Select the Account Permissions
- Click Create
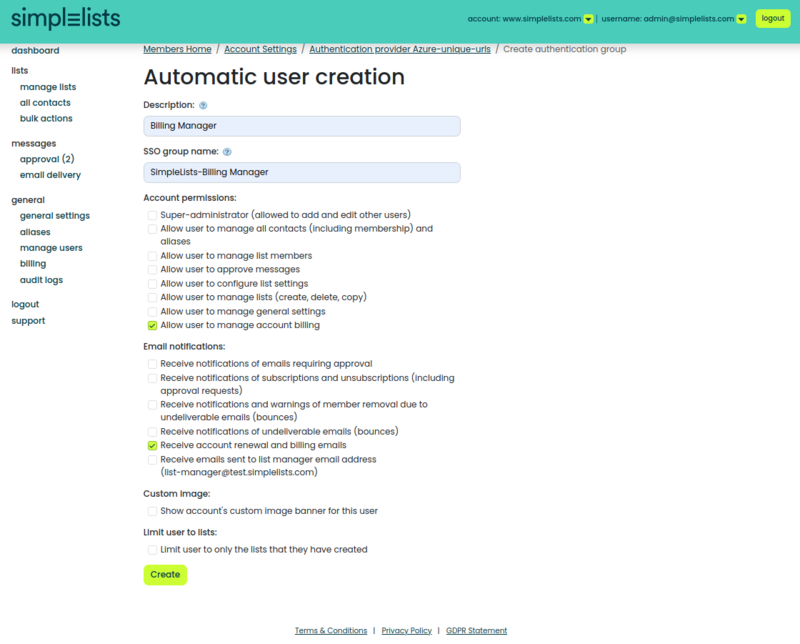
Note: that the created groups are listed under the Existing groups and show the description not the SSO group name. The SSO group name (required to match Azure’s groups) can be viewed by clicking on the group name.
Warning: Any user logging in will be deleted if you have a value in the Attribute for groupname (optional) field but the SAML assertion does not include a list of groups, defined by the attribute, that match a group defined in the groups list.
Note: SimpleLists group permissions are additive. That is, if a user is a member of multiple groups that assign different permissions, the user is assigned ALL the permissions assigned by the individual groups.
Set simplelists user to use the SAML Provider
The authentication method is by user. You will need to set the authentication method for each user that thou want to use SAML

